What Are Tray Floor Displays Used for in Retail Environments?
Are your special promotions or seasonal products getting lost in the crowd? You’re missing huge sales opportunities because these key items don’t have a dedicated, high-visibility home on the sales floor.
Tray floor displays1 are used to create a freestanding "store within a store" for a specific product. They are perfect for launching new items, promoting special offers, or selling seasonal goods2 away from the main shelving.
In my business, we build thousands of displays, and tray floor displays are some of the hardest-working fixtures out there. They are versatile, temporary, and powerful sales drivers. For a designer like Mark, understanding how to use them is essential. It’s about grabbing a customer’s attention in a busy space and putting a product right in their path. Let’s look at how these displays fit into the bigger picture of your store.
Which is the most commonly used floor plan in the retail industry?
Does your store layout feel confusing or block customer movement? An poor floor plan creates dead zones and customer frustration, preventing them from seeing all your amazing products.
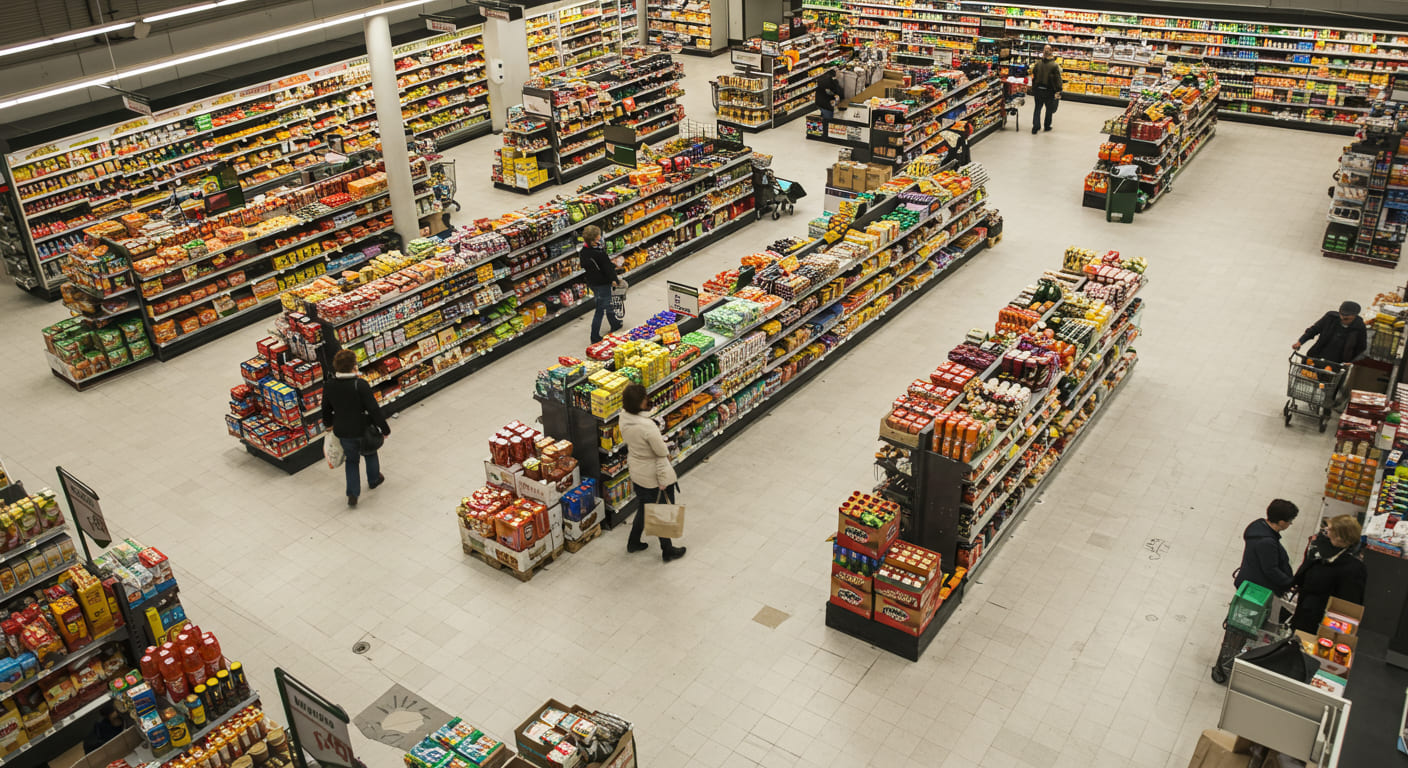
The grid layout is the most commonly used floor plan, especially in supermarkets and big-box stores. It features long, parallel aisles of fixtures that maximize selling space and make it easy for customers to navigate.
Dive Deeper
While the grid layout is the most common, there are other important styles a designer must know. Each floor plan creates different opportunities to use displays. Understanding them helps you place fixtures like tray floor displays for the biggest impact.
Common Retail Floor Plans
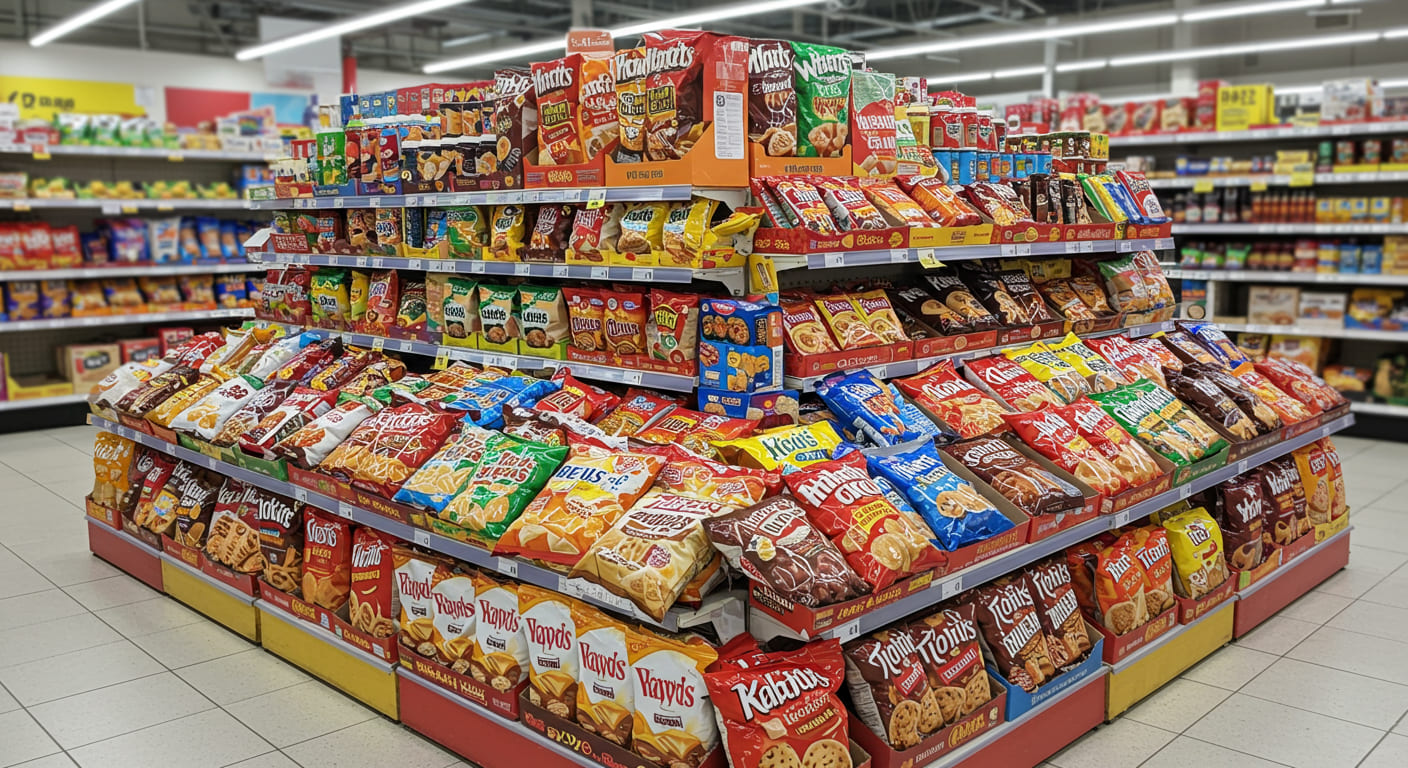
- Grid Layout: This layout, with its long, predictable aisles, is all about efficiency. The perfect place for a tray floor display here is on an end cap or in a wide "action alley" in the middle of the store. It breaks up the monotony and creates a destination.
- Loop (or Racetrack) Layout: This plan guides customers along a set path that passes by every department. Think of IKEA. Tray floor displays are powerful tools here. You can place them along the main loop to introduce special offers as customers journey through the store.
- Free-Flow Layout: Common in boutiques, this layout is more organic, with no set path. Here, a tray floor display can act as an anchor. It can create a focal point in an open space and draw customers toward a specific zone.
When a designer brings me a floor plan, my team can suggest the best display structure for each layout. We ensure the display not only looks good but also works perfectly within the store’s traffic flow.
What is the purpose of a retail display?
Are your fixtures just passively holding merchandise? If your displays aren’t actively working to sell your products, they are just taking up valuable floor space and costing you money.
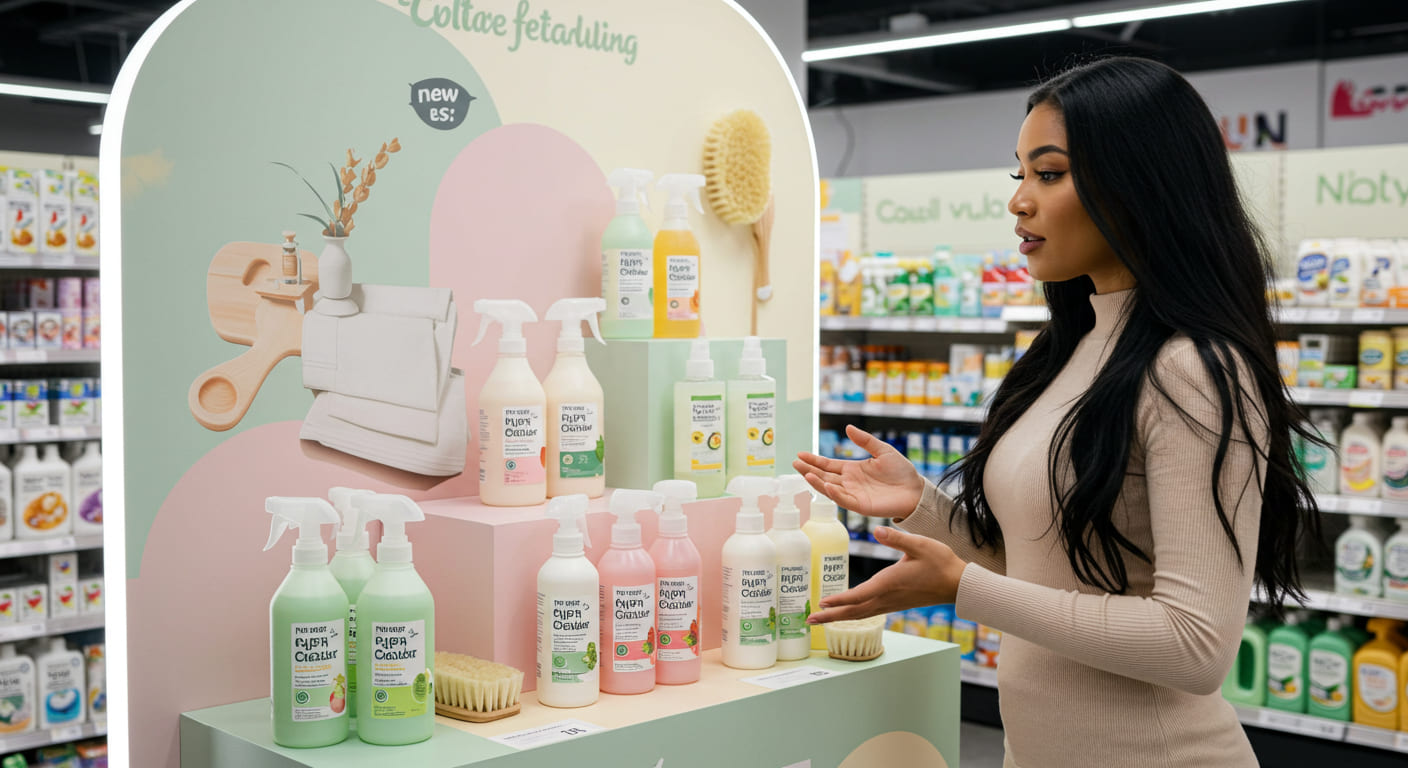
The main purpose of a retail display1 is to be a silent salesperson2. It must attract customer attention, present the product in a compelling way, and ultimately, drive a purchase right there on the spot.
Dive Deeper
A retail display, especially a floor display, has a very active job to do. It’s not just furniture. Its purpose breaks down into a few key steps. First, it must attract. In a visually crowded store, the display needs to stand out. This is done with color, lighting, or a unique shape. Second, it must inform and engage. The display should quickly tell the customer what the product is and why they should care. This can be through graphics, signs, or the way the product is presented. We once built a tray display for a new brand of organic kids’ snacks. Instead of a simple box, we designed it to look like a small, colorful tree with the snack bags hanging from its "branches." It was fun and engaging. Third, and most importantly, it must sell. The display has to make it easy for the customer to grab the product and put it in their cart. The transition from a design drawing to a functional selling tool is where my factory excels. We engineer the structure to be strong, cost-effective, and easy for customers to shop from.
What are the 5 types of displays and how are they used?
Are you trying to use the same type of display for every single product? This one-size-fits-all approach is ineffective because different products and sales goals require uniquely designed display solutions.
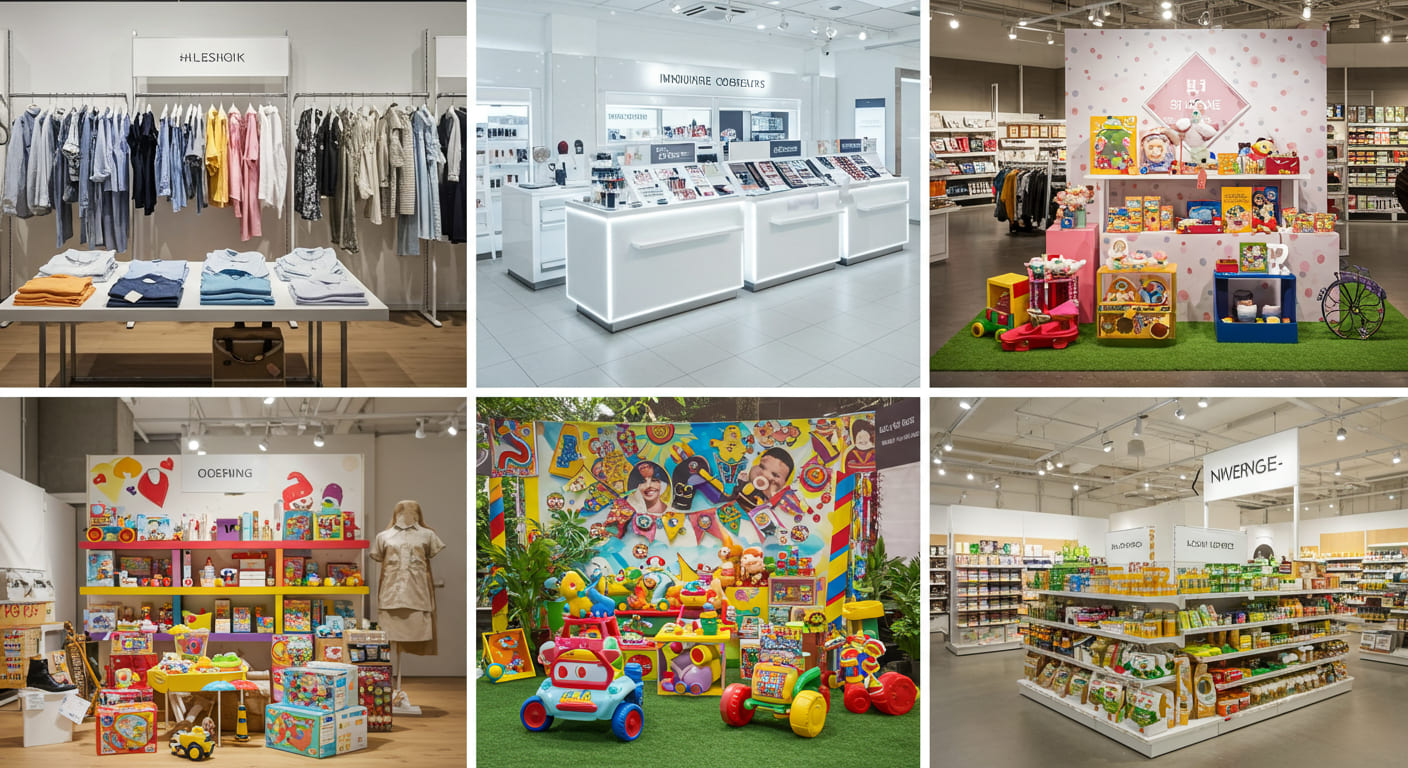
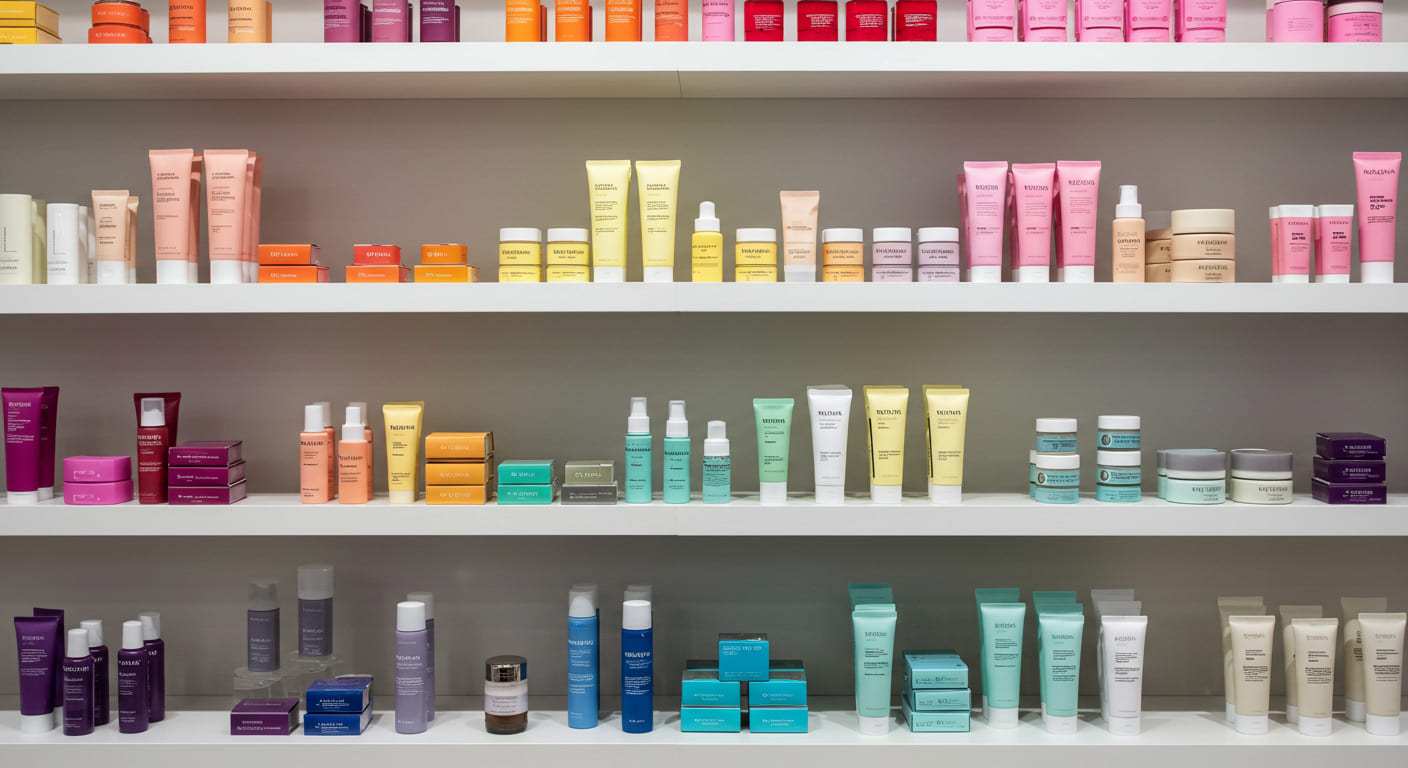
The 5 main types of displays are gondola shelving, end caps, point-of-purchase (POP) displays, mannequins, and tray floor displays. Each type serves a distinct function, from holding core inventory to driving impulse buys.
Dive Deeper
As a manufacturer, I produce all kinds of displays, and knowing which one to use is critical for a retailer’s success. Each type has a specific job. For a designer like Mark, understanding this toolkit is fundamental. For example, you wouldn’t use a mannequin to sell cans of soup. You need the right tool for the right job. Here’s a quick breakdown of the most common types. My teams in China and Vietnam can build any of these, and we are great at sourcing the perfect materials for each one. Often, a new process we discover for one type of display can give a designer a new idea for another. This is why visiting your supplier can be so inspiring; you see possibilities you never imagined.
| Display Type | Primary Use | How It’s Used |
|---|---|---|
| Gondola Shelving | Holding Core Inventory | The main shelving units that create the aisles in a store. |
| End Caps | High-Traffic Promotion | Placed at the end of gondola aisles to feature high-margin items or sales. |
| POP Displays | Driving Impulse Buys | Small displays placed near the checkout counter for last-minute purchases. |
| Mannequins | Showcasing Apparel | Used to display clothing and accessories as a complete outfit. |
| Tray Floor Displays | Temporary Features | Freestanding units used in open spaces to launch products or for promotions. |
How to display products in a retail store?
Are your products neatly placed on shelves but still look boring and uninspired? A logical but dull presentation fails to create the excitement that makes a customer stop browsing and start buying.
To display products effectively, you must create a visual story. Use techniques like grouping, creating focal points with height and lighting, and adding clear signage to make your products look desirable and easy to shop.
Dive Deeper
Displaying products is where art meets science. It’s about making things look good, but also about making them easy to buy. A few key principles are essential.
Make it a Story
Don’t just line things up. Group items that go together. If you’re selling pasta, put the sauce and cheese right next to it. We can design a tray display with compartments or tiers specifically for this kind of cross-merchandising.
Create a Focal Point
Use the "pyramid principle." Arrange your products so that the tallest point is in the center. This draws the eye. We help designers achieve this by building displays with built-in risers or adjustable shelving, allowing for this creative freedom. The structure of the display must support the merchandising strategy.
Keep It Full and Shoppable
A display should always look abundant, but not so perfect that customers are afraid to touch it. There’s a fine line. It must be easy for a customer to remove one item without causing an avalanche. This is a key consideration when my team engineers the structure of a tray display. We have to ensure it’s stable and easy to restock, but also inviting for the customer. A quick call with my team can solve these practical problems, turning a great design into a successful display.
Conclusion
Tray floor displays are powerful, versatile tools. Used correctly within a smart floor plan and overall display strategy, they can stop traffic, generate excitement, and significantly boost sales for your key products.